CSS Grid Calendar
Last month I started getting overwhelmed at what I had coming up this year (that’s right, it was only January). I wanted something where I could see the whole year at a glance, I didn’t need many details but wanted to see what trips/conferences I had happening and even where I was applying to (so I could keep in mind how busy I was). But as I’m a developer, rather than ducking down to Officeworks and buying a year-in-view calendar, I decided to build one instead.
The HTML for this is pretty simple, with most of it being auto-generated for us. Inside of the HTML file, the following elements give us something to generate content inside
// index.njk
<div class="year y-2020">
    <h1>2020</h1>
    <div class="dates">

    </div>
</div>
Next we set up the Eleventy config so that it can generate our static site. It can do this without config, but we want it to copy our static resources (CSS and fonts), use the Nunjucks templating language and source data that we’re generating in the _data folder.
// .eleventy.js
module.exports = eleventyConfig => {
    // Static resources
    eleventyConfig.addPassthroughCopy({ 'resources/fonts': 'fonts' })
    eleventyConfig.addPassthroughCopy({ 'resources/css': 'css' })

    return {
        dir: {
            data: '_data',
        },
        templateFormats: ['njk', 'HTML', 'css'],
        htmlTemplateEngine: 'njk',
        dataTemplateEngine: 'njk',
    }
}
So that we don’t have to create each date manually, we can use JavaScript to generate an array that includes details for each date block. I’ve only set it up to generate dates for the one year, but you could also get it to repeat for further years. This is generated in the _data folder, under _data/year.js
// _data/year.js
module.exports = () => {
    const start = new Date('1 Jan 2020'),
        end = new Date('1 Jan 2021'),
        days = ['Sun', 'Mon', 'Tues', 'Wed', 'Thu', 'Fri', 'Sat'],
        months =  ['January','February','March','April','May','June','July', 'August','September','October','November','December']

    let current = start,
        yearDates = [],
        offset = 0

    while(current < end) {
        const month = current.getMonth() + 1,
        date = current.getDate(),
        day = current.getDay(),
        details = {
            month,
            date,
            day: days[day],
            offset: offset + date
        }

        if(date == 1) {
            offset = day
            details.offset = offset + date
            details.monthName = months[current.getMonth()]
        }

        yearDates.push(details)

        current.setDate(date + 1)
    }


    return yearDates
}
This generates a feed of data we can use in the Nunjucks file, with each item of the array being an object that gives us the following data.
{
    month: {`Number of Month, starting at 1`},
    monthName: {`Name of Month`},
    date: {`Date of Month`},
    day: {`Day of Week, shortened`},
    offset: {`Number of columns the month is offset by, based on their starting day`}
}
We can then use this feed of data to generate elements for each date of the year in our Nunjucks file. Here we can loop through each item in the array (referencing the data as year) and create a div for each day. Some of the properties we’ve defined we want as data- attributes so that we can use them in pseudo elements later, others we want to use in the CSS, so we define inline custom properties.
// index.njk
<div class="dates">
    + {% for day in year %}
        + <div
            + data-monthName="{{day.monthName}}"
            + data-day="{{day.day}}"
            + style="--month: {{day.month}}; --offset: {{day.offset}};"
            + class="date"
        + >
            + <h2>{{day.date}}</h2>
        + </div>
    + {% endfor %}
</div>
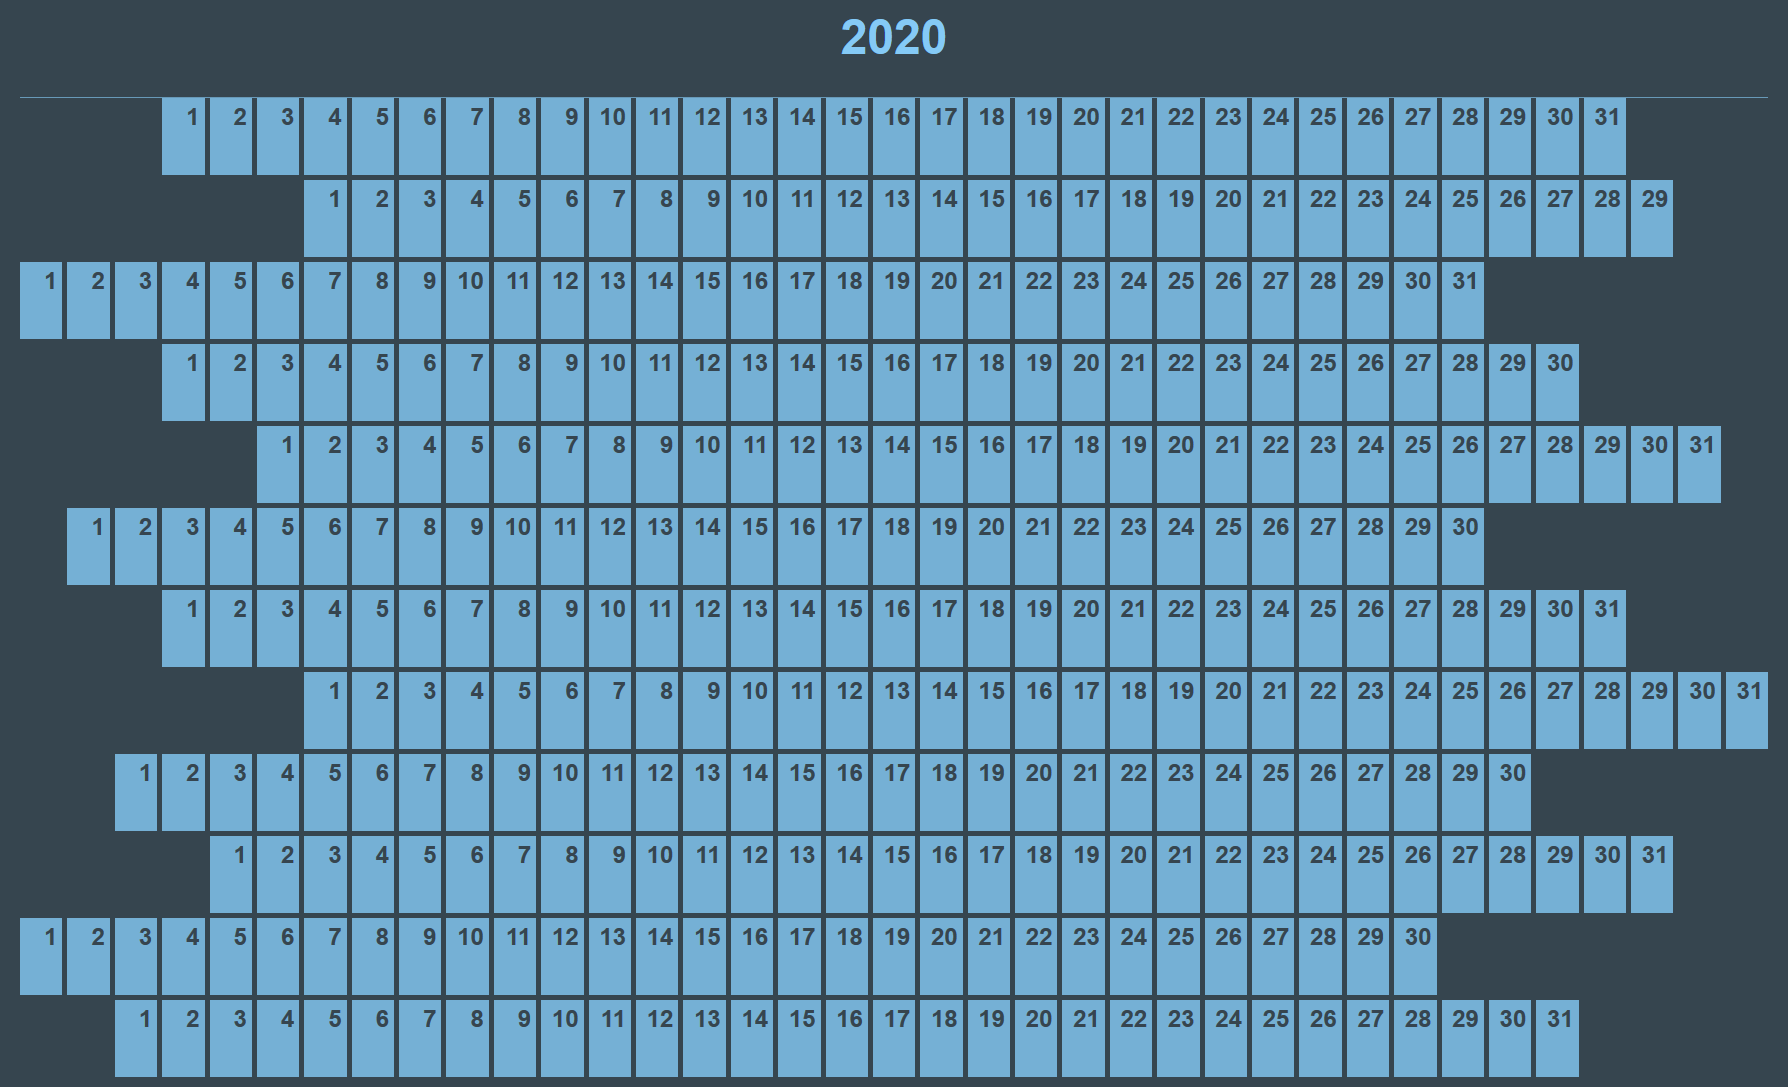
I’ve included a few other styles to make it look nice, but this is the bit that’s important for the CSS Grid magic. Making the overall container a grid container with a minimum height makes the calendar take up at least the whole height of the screen, the 1fr row then expands to take up any remaining space
.year {
        display: grid;
        grid-template-rows: auto 1fr;
        min-height: 100vh;
     }
Next we create a grid for each of the date elements we’ve now created. We create 12 rows (1 for each month of the year 😁), and use the auto-fill property to create as many columns as we need (because we don’t know how many we’re going to, unless we count them). This also gives it a minimum width so that they don’t get too small.
.dates {
        display: grid;
        grid-template-rows: repeat(12, minmax(min-content, 1fr));
        grid-template-columns: repeat(auto-fill, minmax(42px, 1fr));
        grid-gap: 5px;
    }
Then we use flexbox to keep the date in the top right corner of the box, and use our custom properties to place the blocks where they should be. The offset property defines which grid line each block should start at and the month property is the row it’s placed on.
    .date {
        display: flex;
        flex-direction: column;
        align-items: flex-end;
        justify-content: flex-start;
        grid-column: var(--offset);
        grid-row: var(--month);
  }
Add a custom font and a few colours, and that’s looking pretty good.
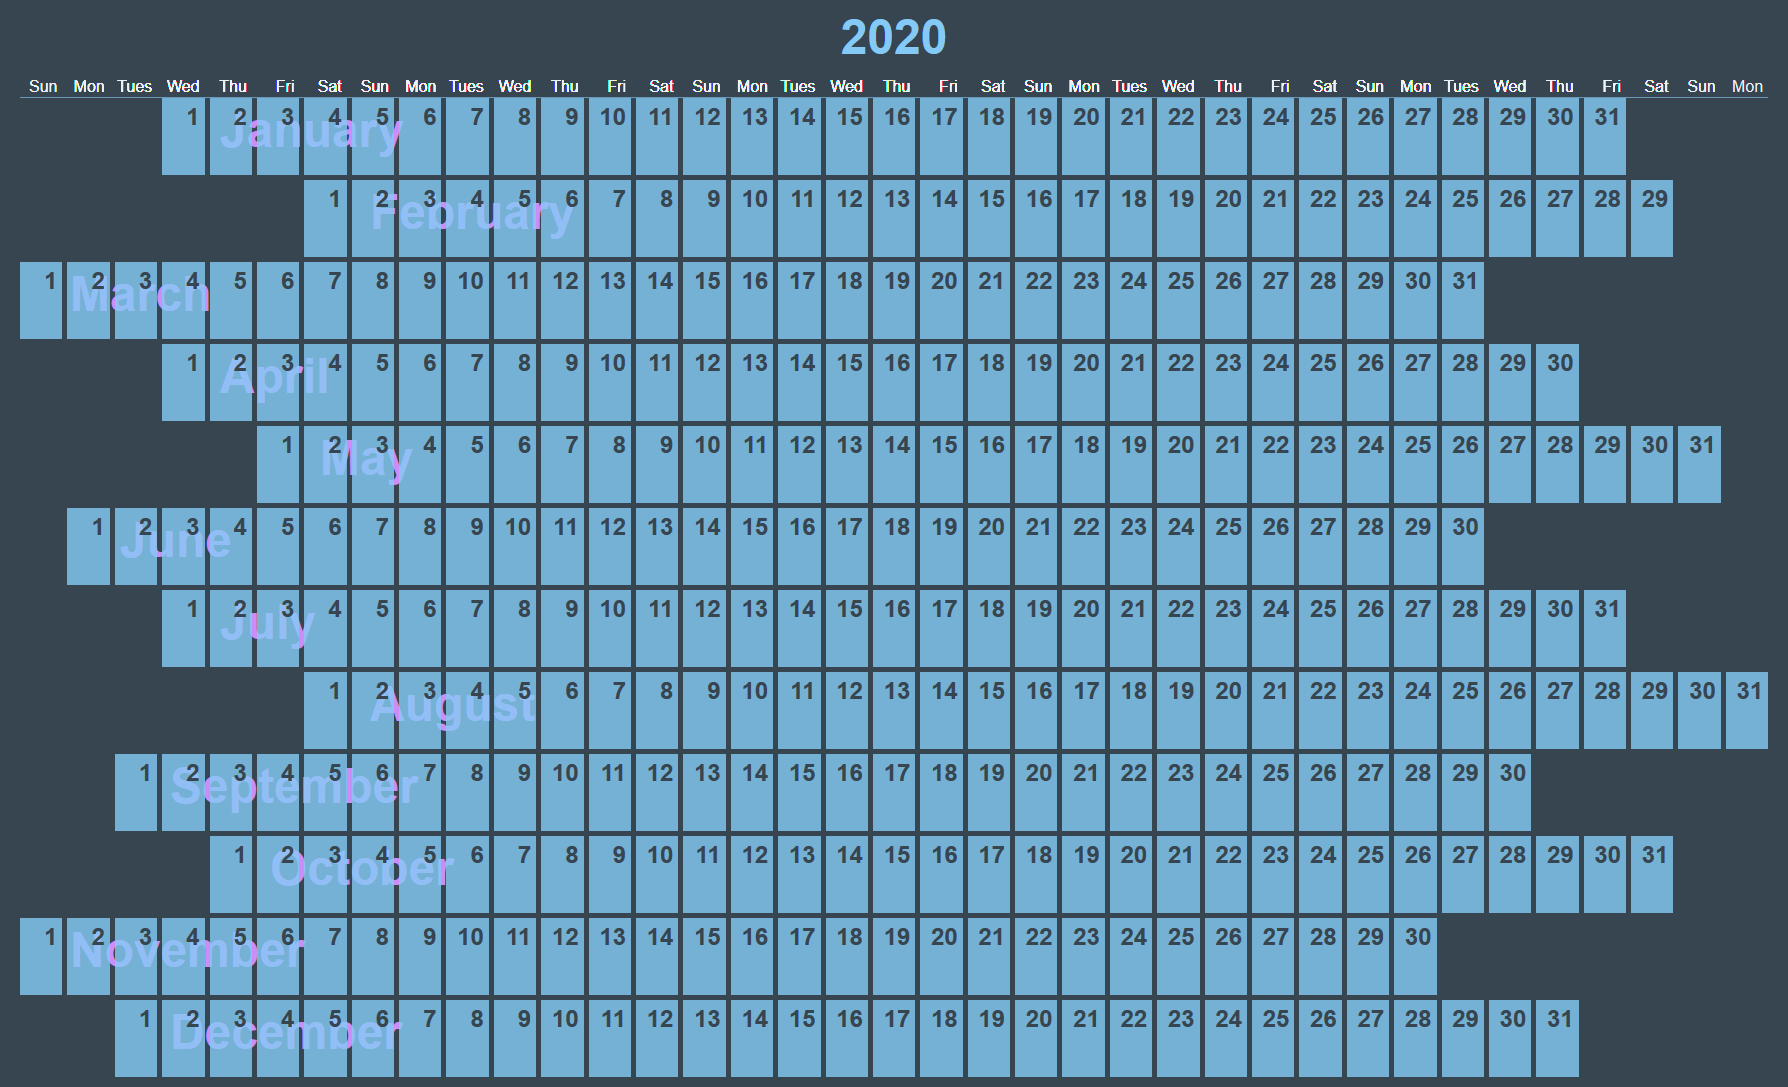
But we also want to be able to see what day and month each of these is, so we use the data- attributes to create pseudo elements. If the element has a data-monthName attribute (ie. is the first on the month), it creates a pseudo element and positions it just inside the left side of the month’s blocks. Each block also gets a psuedo element of the day name, which are positioned at the top of the calendar, so the repeats overlay each other (and we only see one).
.dates {
        position: relative;
    }

.date:before {
    content: attr(data-day);
    position: absolute;
    top: -1.3em;
}

.date[data-monthName]:after {
    content: attr(data-monthName);
    position: absolute;
    left: calc(var(--offset) * 50px);
    z-index: -1;
}
Next we want to place the events on the calendar, so create another data file as _data/events.js to generate the event data. To keep it simple, I also have another file under ./resources/data/events.js that the event array is saved in. This way you can easily switch it out for your own data. This pulls from the array and gives us another feed of data to consume in the main file. Again we’re calculating the offset of the event (so that it starts at the right point), the length (how many days does it go for) and which row it should be on
const eventList = require('../resources/data/events.js')

    module.exports = () => {
        const events = []

        let allEvents = eventList

        allEvents.forEach(event => {
            const start = new Date(event.start),
              end = new Date(event.end),
              firstOffset = new Date(new Date(event.start).setDate(1)).getDay() + start.getDate()

            let    length = end.getDate() - start.getDate() + 1

            events.push({
                title: event.title,
                offset: firstOffset,
                length,
                row: start.getMonth() + 1
            })
        })

        return events
    }
This is all using info from the resources/data/events.js folder. Here you can change out my array for your own list of events/trips
// Dates must be in `YYYY-MM-DD` format
    const events = [
        {
            title: 'Event Title',
            start: 'Start Date',
            end: 'End Date',
        },
    ]

    module.exports = events
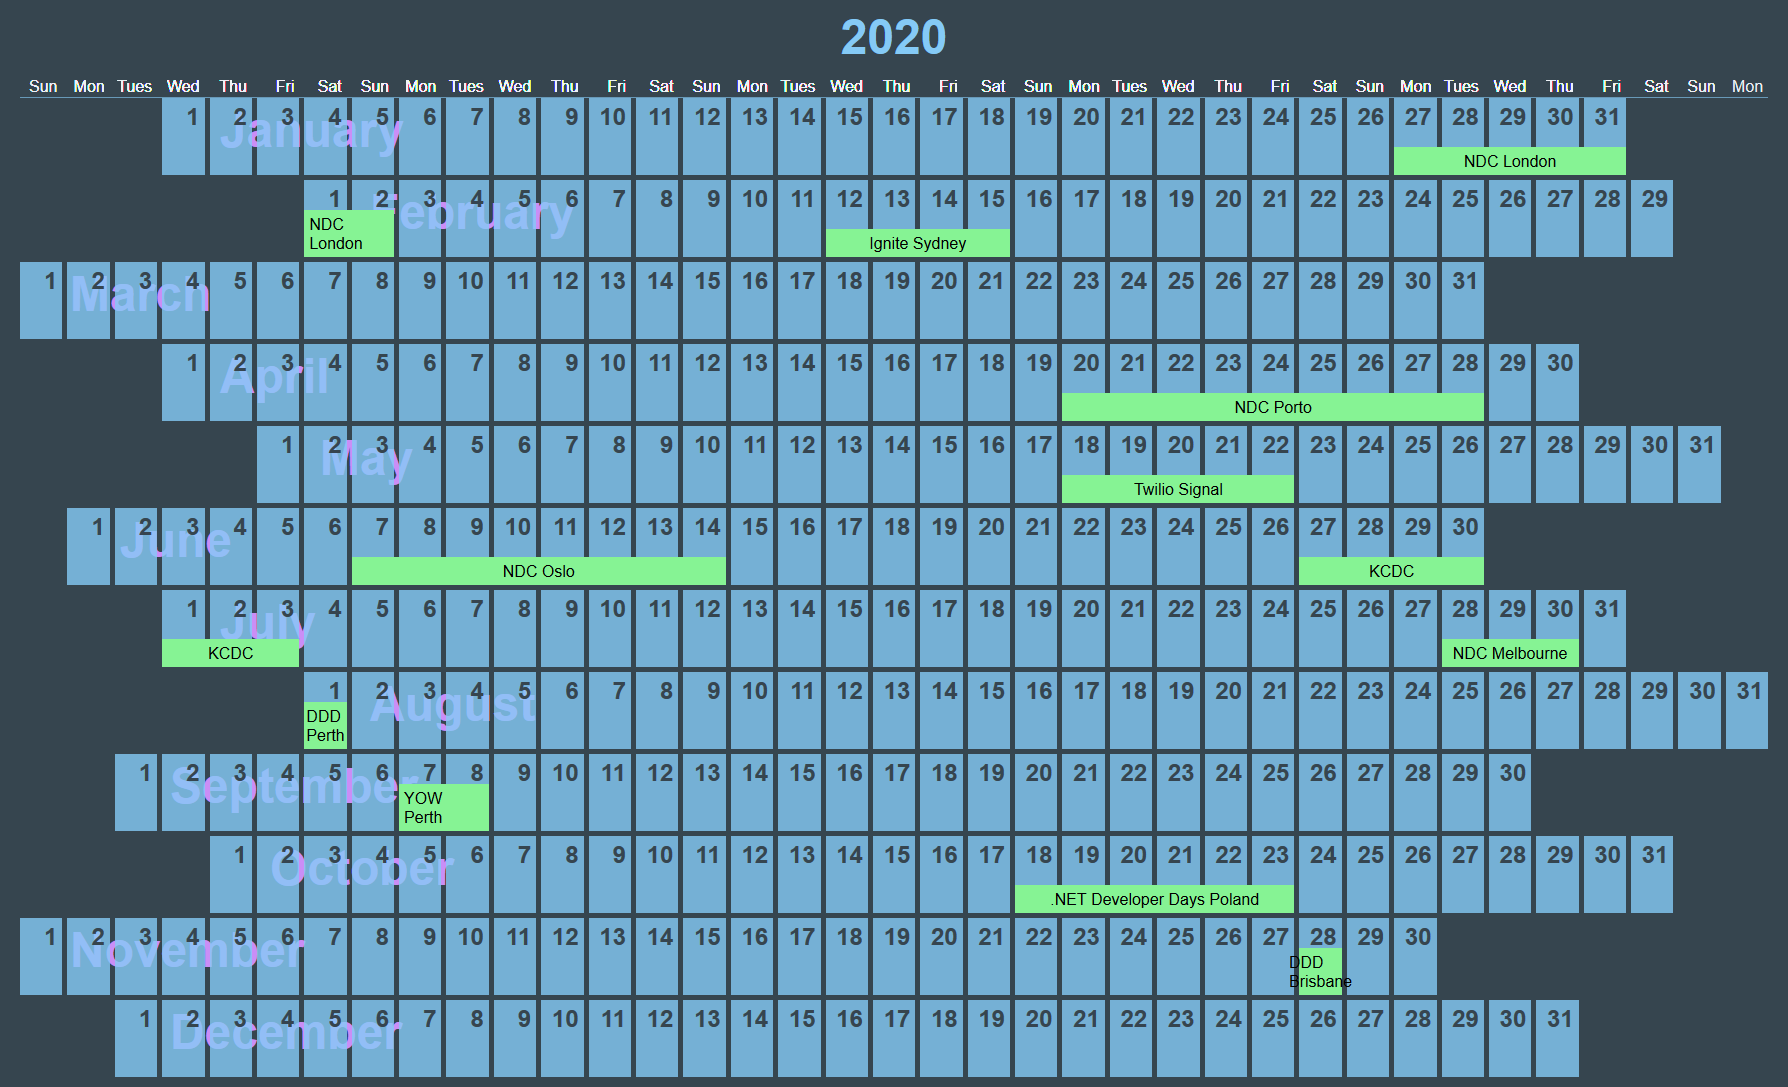
Now we add the events to our index.njk file so they appear on the calendar. Under the existing loop, create another to loop through the events data, creating more elements for each of the events. Again this uses CSS variables so we can place and size each of the events.
<div class="dates">
        {% for day in year %}
            ...
        {% endfor %}

        + {% for event in events %}
            + <div class="event"
                + style="--offset: {{event.offset}}; --length: {{event.length}}; --row: {{event.row}}"
            + >
                + {{event.title}}
            + </div>
        + {% endfor %}
    </div>
Adding in some extra styles for the events, we can use the CSS variables to define which column they should start at (offset), and also how many days they go for (length). We can also define the row so they appear in the right month.
.event {
        display: flex;
        align-items: center;
        justify-content: center;
        align-self: end;
        grid-column: var(--offset) / span var(--length);
        grid-row-start: var(--row);
    }
One issue with this though, is it gets confused when you have events span multiple months. This is a hack to fix it. If any of the events spans multiple months, it creates a duplicate item in the array and sets the dates so that the first instance goes to the end of the month and the second starts from the first of the second month.
// _data/events.js

        let allEvents = eventList

        allEvents.forEach(event => {
            const start = new Date(event.start),
            end = new Date(event.end)

            if(start.getMonth() !== end.getMonth()) {
                let dates = [
                    [start, null],
                    [null, end]
                ],
                fullDates = []

                dates[1][0] = new Date(start.setMonth(start.getMonth() + 1)).setDate(1),
                dates[0][1] = new Date(end).setDate(0)

                fullDates = [
                    [
                        `${new Date(event.start).getFullYear()}-${new Date(event.start).getMonth() + 1}-${new Date(event.start).getDate()}`,
                        `${new Date(dates[0][1]).getFullYear()}-${new Date(dates[0][1]).getMonth() + 1}-${new Date(dates[0][1]).getDate()}`
                    ],
                    [
                        `${new Date(dates[1][0]).getFullYear()}-${new Date(dates[1][0]).getMonth() + 1}-${new Date(dates[1][0]).getDate()}`,
                        `${new Date(dates[1][1]).getFullYear()}-${new Date(dates[1][1]).getMonth() + 1}-${new Date(dates[1][1]).getDate()}`
                    ]
                ]

                event.start = fullDates[0][0]
                event.end = fullDates[0][1]

                allEvents.push({
                    title: event.title,
                    start: fullDates[1][0],
                    end: fullDates[1][1]
                })
            }
        })
Although this is built with lots of JavaScript, the advantage of Eleventy is this is run at build time, the website doesn’t need JavaScript to run at all.
I originally built this in Codepen (where it did need client-side JavaScript), you can fork the pen here, otherwise I’ve also put this together as a static Eleventy site that can be hosted on Netlify for free - https://cssgrid-calendar.amyskapers.dev. The full repo is available on GitHub, with a button to immediately fork and deploy to Netlify.
